Meryl Nass’s quick and dirty primer for new gardeners
By Dr. Meryl Nass
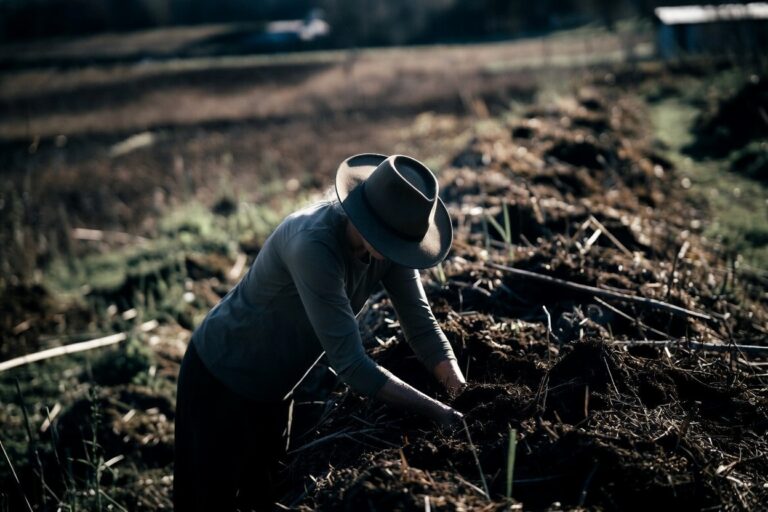
They predict famine next year, so it’s a good idea to start gardening now. If you’re new to growing your own food, here are some tips gleaned from my own experience. There’s nothing better than eating food grown with your own hands, and the best part is you will definitely have some things that grow extra well each year that you’ll be able to share.
What plants actually need to grow
You need dirt to provide a structure for roots to grow in. Ideally your dirt starts off soft, but if you add in good things, the worms and bugs and microorganisms will show up and soften it up for you.
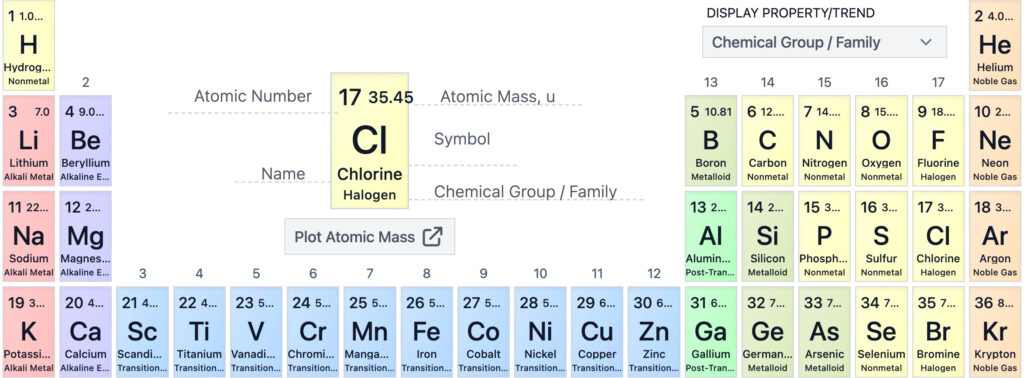
You need minerals. A lot of NPK (nitrogen, phosphorus and potassium, using their letter names from the Periodic Table) and a little bit of many other minerals. You need carbon, which is the defining component of organic matter.
Your dirt may already have all of this. You can get it tested (commonly through government extension services and then add in stuff as needed), you can cross your fingers and trust your dirt is good, you can rely on what your neighbors tell you about local soil, or you can start adding stuff you might need into it.
I add stuff, since I don’t want to go to a lot of trouble getting the beds ready and planting and weeding, and then find out I have a bad yield because I was missing some ingredient(s). Plus, the food is said to taste better when plants have access to all the minerals and carbon they desire.
Build soil, don’t buy it
After gardening for a couple of years, you will usually have a nice compost heap that will make your plants very happy, with a good mix of necessary ingredients. Adding manure (generally old or composted manure, as fresh manure from most animals can burn tender plant roots) provides extra nitrogen and other things plants like. Both manure and organic plant matter help hold water in the soil.
I advise you NOT to buy soil or fertilizer mixes in bags, since we now know most of them contain sludge. Sludge (aka solid sewage waste, renamed as biosolids) is likely to contain a large variety of toxic substances that you do not want in your garden. I have found that most bags containing this stuff are not properly labeled, so you can’t know what is in them. For over 30 years the EPA has been urging farmers to use it on their farmland, since this is a cheap way to get rid of sewage.
If you live in a suburb or rural area, you already have dirt. I especially like the dirt that lives around trees and has been building topsoil from the weeds, leaves, and branches that have come down over many years and composted themselves.
If you don’t have dirt, you may do well to start a container garden, which uses less dirt. In general, don’t buy soil from a nursery, which probably uses that same sludge as part of the mix it calls topsoil, humus or something similar. See if you can buy a truckload of manure or good quality compost from an organic farmer — or at least get some of his dirt to start with if you don’t have your own.
Simple mineral amendments that work
You can add NPK and trace minerals safely to dirt. These are the additives that I use; follow label for amounts:
· Rock Phosphate (phosphorus)
· Green sand (potassium) — Green sand, is a naturally occurring marine sediment. It is primarily used as a slow-release organic soil amendment that improves soil structure, enhances water retention by holding up to one-third of its weight in water, and supplies potassium (NPK typically 0-0-3), along with over 30 trace minerals like iron, magnesium, and calcium.
· Azomite (trace minerals) mined in Utah
· Composted (old) cow or goat manure, since that is what is available here, but most other manures will do (nitrogen). Avoid those with weed seeds in them.
· Magnesium is good for many plants, especially peppers, eggplants and tomatoes. Add a tablespoon or a small handful of epsom salts to the soil for each plant.
If I am preparing dirt for containers, I mix it all up in my wheelbarrow. If I feel I need more carbon, I add peat moss. I dig up dirt, then add this other stuff, mix it well, and I then have a very good potting mix for container gardening or most houseplants.
Avoid any dirt with grass seeds or weed seeds. Wooded, highly shaded areas should have few weed seeds. Plants adore compost made from decayed plant materials, which can be added to this mix, withheld for special plants, or added later as a topdressing (surface application) over the soil.
Some organic farmers buy their (best) seed-starting topsoil (Fort Vee) from a company in Vermont, either in bags or by the truckload. It is expensive but reliable. You don’t need to add anything.
Container vs growing in the ground: choosing your setup
Where should your garden be? It should be wherever you have full sun all day long. It makes a HUGE difference. DON’T put the garden where you think it will look pretty, as I have done in the past. Put it where you will get great vegetables.
Because I am in the throes of moving right now, I don’t have the ability to prepare a garden for this growing season, but I do have a lot of dirt, mostly in a wooded area. So I am going to do container gardening, and add some organic manure to the soil I get from the woods. I will also add minerals. There will be much less weeding with containers.
However, the strategy to plant through a mulch of cover crops and leaves should also result in little weeding in a garden made of dirt.
If you have lots of water, grow plants in raised beds, which drain very well, have fewer weeds and are easier to control than flat gardens, clay (plain, unglazed), or fabric containers, which leak and allow a great deal of evaporation. The tomatoes shown in the screenshot below are grown in grow bags. I just ordered two dozen 5- and 10-gallon bags for $42. Make sure you fill them with soil with lots of organic matter to hold in moisture.

You are likely going to have to water these plants daily, or every other day, unless you set up a drip watering system.
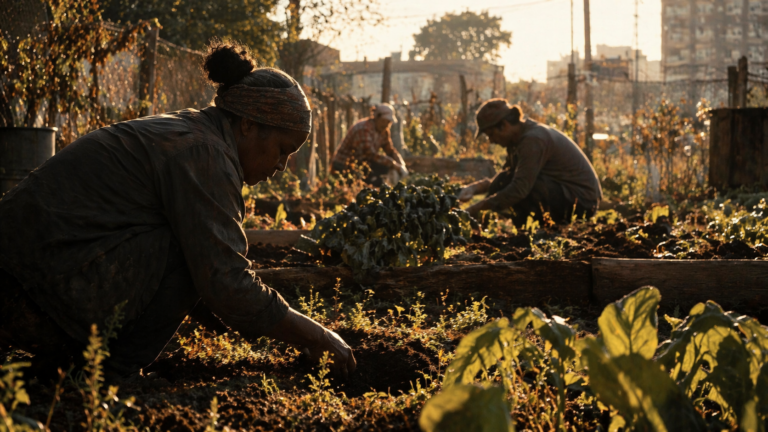
If water is at a premium, avoid the raised beds and consider planting in glazed clay pots or plastic, which retain water well. Or in an unraised garden like the one in the photo below.
You may also choose to use “row cover,” like you see in the photo below. It’s a polyester or polypropylene fabric that helps retain moisture and keep out bugs. It can ‘float’ over the plants, or be used over hoops. It is always good to have a pile of rocks you have dug up, to hold down the row cover at the edges, or use garden staples. Otherwise the wind will blow it off.
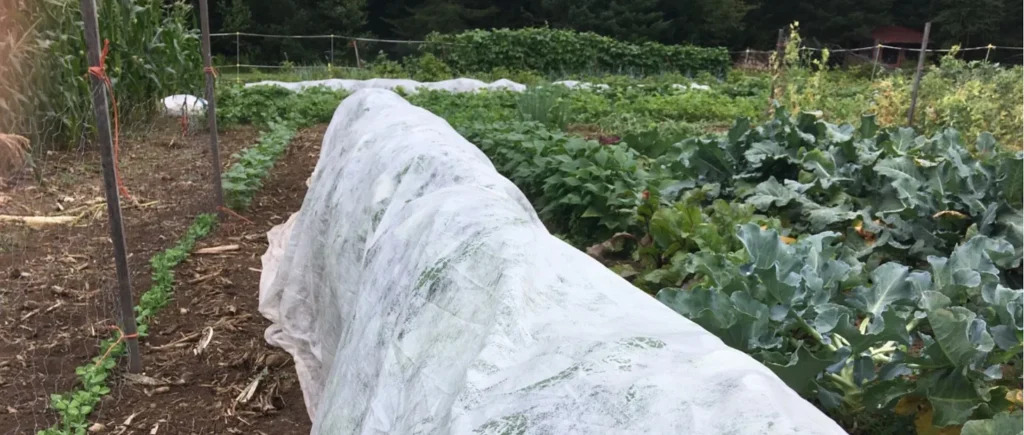
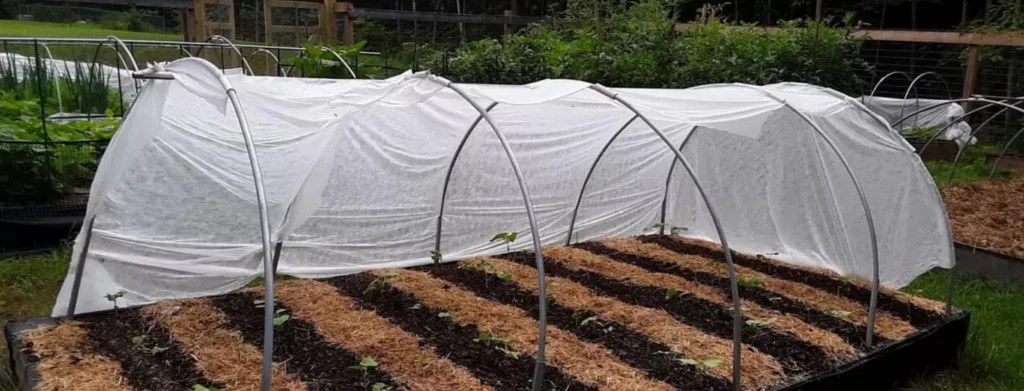
Varmints may be afraid of row cover, and when you keep it completely covering your plants, bugs stay away as well. You need to open it, as above, when plants begin to flower and require pollination.
Thirsty plants might do better growing in plastic containers, while other plants will prefer better drainage and do better in unglazed clay.
To be a gardener, these are the main issues you must contend with:
Be ready for the following, at the very least. Talk to people locally to get an idea of what the issues are in your neck of the woods.
- Weeds
The term ‘mulch’ refers to anything that covers the soil to keep out weeds and retain moisture. An organic mulch returns organic matter to the soil. Non-organic mulch can be made of black plastic or a woven material (get the kind that lets water through), or you can use compost or leaves, etc. If you hate weeding, you need mulch. If your topsoil blows away, you need mulch. (I happen to like weeding.)
By the way, avoid buying the gray-colored fabric for mulch — it allows in sun and does not prevent weeds. The thicker the fabric the better, especially if you want to leave it down for many years, such as around shrubbery. It can then be covered with wood chips or a bark mulch and you will never have to weed the area. - Watering
If you pay for water by the cubic foot, forget spraying your garden. You lose too much water to evaporation, on paths, and where you don’t need it. I once had a $700 water bill from spraying my garden. The plants were happy but I was not. It is advised to water in early am or late afternoon to face less evaporation.
After that, I watered plants individually with a hose. It took a lot longer, but I got a chance to check each plant, which is good to do frequently so you catch the bugs or other problems early and can effectively deal with them.
Drip irrigation using porous tubing made from car tires is a good solution to save on water. - Bugs
Bugs need to be inspected, identified, then approached with a specific fix. Wetting the plants, then sprinkling them with diatomaceous earth (which is very sharp on the micro level) cuts into wormy bugs and kills them. This is especially important for the larvae of cabbage moth, which grow on many brassicas. Sluggo (with iron) kill slugs. Mixes of pepper, garlic, dish soap, etc. can work for other bugs, but first identify the bug and then look online or in bug books for nontoxic solutions.
Healthy plants that you have babied will be much more likely to withstand bug attacks with little damage. And keeping young plants inside tents made of row cover keeps out the bugs and lets in as much sun as you wish — row cover comes in different weights, which allow in different amounts of sun. Row cover can be reused year after year. I bought short lengths of rebar, stuck them in the soil, then threaded plastic tubing from Home Depot over the rebar to create cheap hoops, and attached the row cover to it with clothespins. Very quick and easy to adjust or take on and off. If you live in a particularly windy area, you may need something a bit more substantial. - Varmints
In my area, varmints include groundhogs and deer. Fencing is needed to keep out deer, 6 feet high at least. You can also use a lower, cheaper fence and surround your garden with fish line every 6-8 inches up, which the deer don’t see well but butt up against. This tends to keep them out. Also, you can buy coyote urine to spray around the perimeter!
Groundhogs burrowed into my garden once, but I put two bags of cow manure down their tunnels and they never came back. Many people bury fencing down about 6 inches around the garden to keep various underground critters out. I did not have to do that, luckily.
Crop rotation and soil recovery
You will want to rotate your crops so you don’t grow the same thing in the same place year after year, as that will deplete the soil of nutrients. You will likely also want to rest the land every few years or plant a cover crop to restore nitrogen and organic matter to the soil.
Cover crops can be planted in lieu of a vegetable crop one year, or planted at the end of a growing season when you harvest early. And they can then be left in place to form the mulch you need for the next growing season.
However, birds kept eating the seeds of my cover crop last year, although I buried the pea and oat seeds, so that was disappointing. Those must have been very tasty seeds, with no pesticide or GMO treatment.
Here is a list of plants that restore nitrogen to the soil:
- Alfalfa (Lucerne)
- Clover (Red, White, Crimson)
- Vetch
- Peas (Garden, Fava, Snow, Chickpeas)
- Lentils
- Soybeans
- Peanuts (Groundnuts)
- Lupins
- Pigeon Peas
- Mung Beans
- Sweet Potato
- Pineapple
- Sugarcane
- Cassava
- Guava
- Mexican Sunflower
Final advice: start small, learn fast, improve each season
My favorite gardening book (I have about 30 or 40) is Barbara Damrosch’s Garden Primer, 2nd edition. She tells you everything you need to know.
Also, invest in garden gloves — I was too cheap to do this for years, but they really make a difference!
Get your hands dirty! I’m happy to answer any questions you may have along the way.