The basics of preserving food: Five ways to make the harvest last
By Zahra Sethna, Collapse Life
For most of human history, preserving food was part of the process of feeding yourself.
Tomato harvests come all at once, apples have to last beyond October, and meat needs to keep through the winter. Before there were refrigerators and all-night supermarkets, households figured out ways to slow the clock: drying, salting, fermenting, pickling, storing, canning, and freezing became a way of life.
Now that we can buy strawberries in January and lettuce in December, food preservation seems like a specialist skill to many people. The good news is that it isn’t.
At its simplest, preserving food means changing the conditions that cause it to spoil. Depending on the method, that may mean removing moisture, lowering the temperature, increasing acidity, encouraging beneficial microorganisms, or using heat to destroy organisms that cause spoilage or illness.
If you’re just starting out, you don’t have to feel overwhelmed at the prospect of mastering it all. In fact, one of the easiest ways to begin is to stop thinking about “food preservation” as a single undertaking. Instead, break it down and learn a few things step by step.
Method 1. Store it
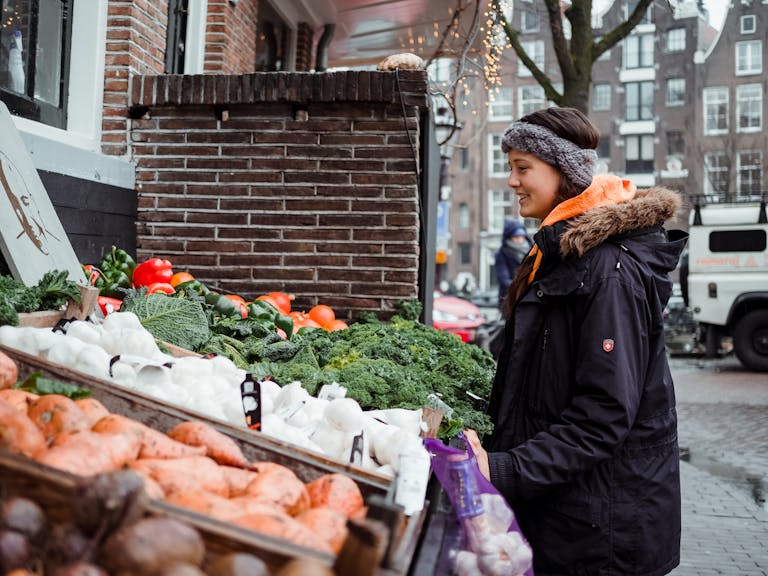
The simplest preservation technique involves doing almost nothing at all. Some fruits and vegetables will easily keep for weeks or months as long as they are harvested correctly and stored under the correct conditions. That mostly means controlling for temperature, humidity, and airflow.
Potatoes, onions, garlic, winter squash, cabbage, carrots, and apples are classic storage crops. Mother Earth News describes how proper harvesting, curing, and storage can extend a garden harvest deep into winter.
One important thing to note is that all those vegetables and fruits won’t thrive under the same conditions. Some crops prefer relatively humid conditions, while others keep better when they are dry. Winter squash and onions generally benefit from being cured before they are stored. Potatoes need to be kept in the dark.
Remember that one rotten apple can spoil the barrel. That’s true — not just an old adage. Be sure to inspect your stored produce periodically and remove anything that may look like it’s beginning to rot.
If you’ve never stored food before but think this might be the year to try it, this is probably the easiest place for you to start. Buy a big sack of onions or potatoes when they are abundant and inexpensive, look into the conditions they need to be stored properly, and use them over the following weeks or months.
Method 2. Freeze it
Freezing is probably the next easiest way to preserve a large variety of foods.
Most fruit, vegetables, meat, fish, bread, herbs, and even complete meals can be frozen. Not everything freezes well though, so you may find texture and quality can vary considerably once thawed.
Note that freezing doesn’t sterilize food or necessarily kill microorganisms. It essentially just puts microbial growth on hold. The National Center for Home Food Preservation recommends keeping a freezer at 0°F (-18°C) or below.
Most vegetables should be blanched before being freezed. That essentially means briefly heating them in boiling water or steam and then cooling to slow the enzyme activity that otherwise damages flavor, color, and texture even at freezer temperatures.
Air is the enemy of frozen food: poorly wrapped food loses moisture and develops freezer burn. Use containers or bags designed for freezer storage, remove as much air as practical, label everything and date it. Remember: first in, first out. Put new food behind the old food and make a plan to actually eat what you preserve.
The downside of freezing is obvious. It requires both freezer space and electricity. A pantry full of dried or canned food survives a power outage considerably better than a chest freezer full of meat. That’s certainly one of the main reasons it makes sense to learn more than one method of food preservation.
Method 3. Dry it
Drying is one of the oldest food preservation technologies. If you remove enough water from food, microorganisms can no longer readily grow. The result is food that’s compact, lightweight, and doesn’t require refrigeration.
Fruit is one of the easiest entry points: apples, pears, peaches, berries, and grapes can be dried. Vegetables can also be dehydrated, to add to soups and stews later on. Herbs are another obvious candidate. Dried meats like jerky are possible too, although meat preservation needs more careful attention to food safety procedures.
While you can leave food in the sun to dry out, that’s not the most reliable way to put up food for the long term. You’ll likely want to invest in a purpose-built food dehydrator for this process.
After the drying is complete, dehydrated food still needs to be protected from moisture. The National Center for Home Food Preservation recommends cooling dried foods completely and then packing them in clean, dry, tightly sealed containers.
Heat, light, air, and moisture can all shorten the storage life of dried foods. And don’t assume that just because you dried something once it will remain dry forever. If moisture gets back into the container, mold can still grow on it.
Method 4. Pickle or ferment it
These two food preservation methods are often lumped together, but they aren’t quite the same thing.
Pickling uses acidity, usually in the form of vinegar, to create conditions hostile to dangerous microorganisms. Cucumbers are the most obvious example, but onions, peppers, beans, beets, and many other vegetables can be pickled.
As the fine folks at Portlandia once joked, when you first discover pickling, there is typically a brief period when everything looks pickleable.
Fermentation looks a lot like pickling, but in this case beneficial microorganisms do some of the work for you. Sauerkraut is just cabbage and salt. Salt helps control which microorganisms flourish. Naturally occurring bacteria convert sugars into lactic acid, gradually creating the acidic environment that preserves the cabbage.
Fermentation can seem mysterious and even daunting until you’ve done it. But note that improvising can cause problems. When you’re just starting out, follow clear guidelines and recipes to be sure you’ve got it right.
The National Center for Home Food Preservation specifically warns against arbitrarily reducing the salt in fermented sauerkraut or pickles. Likewise, vinegar, water, and vegetable proportions shouldn’t be casually changed in recipes intended for shelf-stable pickles.
After all, preservation is chemistry.
Method 5. Can it
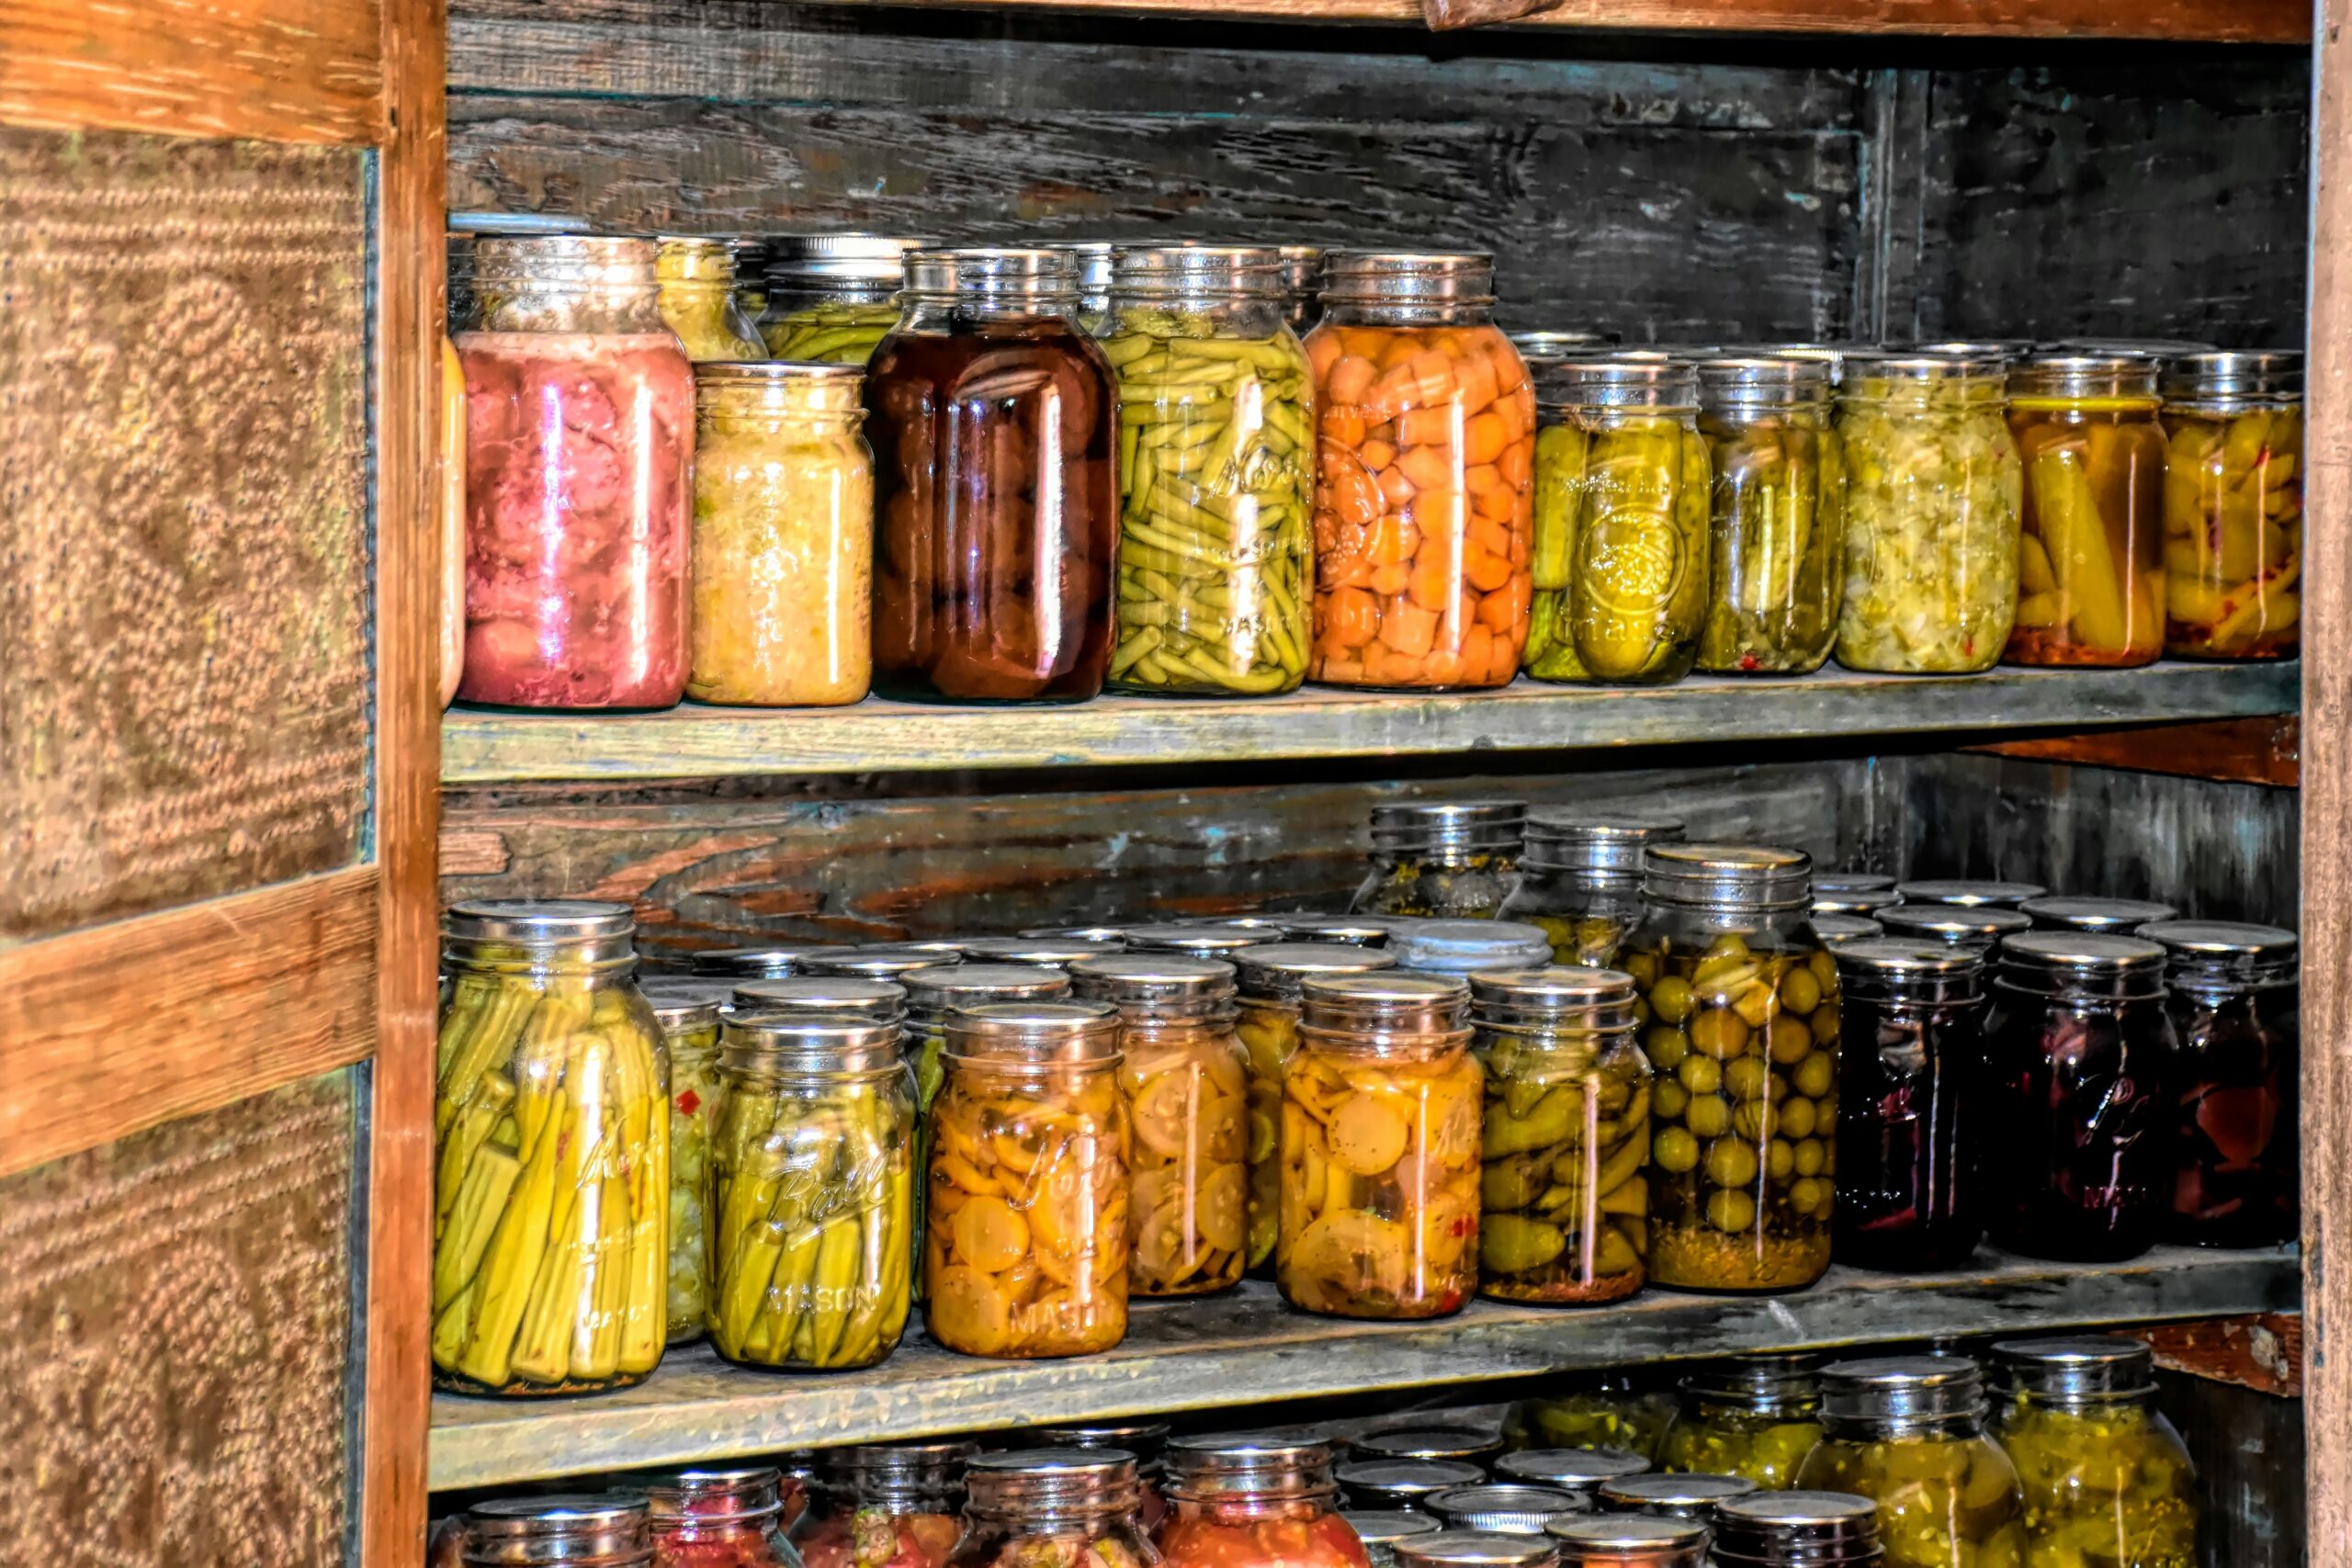
Canning uses heat to destroy microorganisms and enzymes that can cause food to spoil. Food is packed into specially designed glass jars and processed with heat. As the jars cool, a vacuum forms and the lid seals, allowing properly processed food to be stored without refrigeration.
The great advantage is shelf life. Canned fruits, vegetables, sauces, soups, and meats can sit ready to use for months or longer, without taking up freezer space or depending on electricity.
But canning takes a little more commitment than freezing a bag of berries. You’ll need proper canning jars and lids, plus either a large water-bath canner or a pressure canner, depending on what you’re preserving. You’ll also need somewhere to keep the finished product. Glass jars are bulky and surprisingly heavy when full, particularly once you start accumulating them by the dozen.
Home-canned food should be stored in a cool, dark, dry place, away from excessive heat and direct sunlight. So before enthusiastically canning 40 pounds of tomatoes, think about where those 40 pounds of tomatoes are going to live out the winter.
If you do have the equipment and storage space, canning is one of the most versatile ways to turn seasonal abundance into a pantry that can last throughout the year.
There are two basic methods, and knowing the difference between them is important.
5a. Water-bath canning
Water-bath canning is the simpler method and a very good place for beginners to get started.
It is used for high-acid foods, including many fruits, jams, jellies and pickles. Some recipes may also add vinegar, bottled lemon juice, or citric acid to create the necessary acidity.
The equipment is relatively simple: proper canning jars and lids, a jar rack, and a pot deep enough to keep the jars covered with boiling water during processing.
But water-bath canning has a hard limit. It is not safe for low-acid foods such as meat and most vegetables.
5b. Pressure canning
Low-acid foods like meat, poultry, seafood, and most fresh vegetables require a pressure canner.
The reason, in one word, is botulism. Clostridium botulinum spores can survive ordinary boiling temperatures in low-acid foods. A pressure canner raises the temperature well above the boiling point of water — generally into the 240°F to 250°F range — allowing low-acid foods to be safely processed when the correct time and pressure are used.
Pressure canning requires more specialized equipment and a little more attention to the method, but it is a great way to expand what you can put on your pantry shelf: think beans, vegetables, soups, stocks, meat, poultry and more.
Like with fermentation, this is not the place to improvise.
Use a current, tested recipe from the USDA, the National Center for Home Food Preservation, or from a reputable university extension service. Don’t change jar sizes, processing times, or ingredient proportions unless the recipe specifically says you can.
Altitude matters, too. Because water boils at a lower temperature at higher elevations, canning times or pressures must be adjusted accordingly.
A lot of modern food safety information can seem overly cautious. But when it comes to canning, updated knowledge really has improved on the old ways. Grandma may have known what she was doing — but unless she left behind a microbiology report and step-by-step instructions, you’re better off sticking to a tested recipe when you’re first getting started.
Final thought: you don’t need to preserve everything
This may be the most important lesson for a beginner: Start with what you already eat.
If you routinely throw away fresh herbs, dry some. If berries are inexpensive in summer, buy some and freeze a few bags. If you grow tomatoes, master one tested canning recipe. If you buy onions by the bag, figure out why some last for months while others rot in two weeks. If you love to eat sauerkraut, try making one batch.
Then add another skill.
It’s hard to recreate a 19th-century farm kitchen from scratch while also managing all the challenges of modern living. Think about food preservation as a way to lengthen the distance between “we have something to eat” and “we need to go buy more food.”
That way of thinking has benefits even when nothing goes wrong. Buying or harvesting food when it is plentiful can save you money. A garden becomes considerably more useful when you don’t have to feel pressure to eat everything immediately. Preserving seasonal produce also gives you more control over the ingredients you use. Plus, it reduces waste!
But when something does go wrong — a storm, power outage, supply disruptions, an unexpected bill, or just a week when getting to the grocery store is inconvenient — a well-stocked household has options.
Food preservation isn’t about stocking up a bunker full of provisions — though if that is your plan, then certainly go for it! For most of us, it’s about making the most of abundance when you have it — and creating a little more food security for the times when you don’t. And it’s about gaining the sense that you have the ability to manage things during hard times.
Everyone needs that added layer of self-confidence in our topsy turvy world now.
Good luck and have fun “putting food by,” as our great-grandmas used to say!
Read more:
The National Center for Home Food Preservation: https://nchfp.uga.edu/
Mother Earth News: Food Preservation: https://www.motherearthnews.com/real-food/food-preservation/